Making Masala Chai
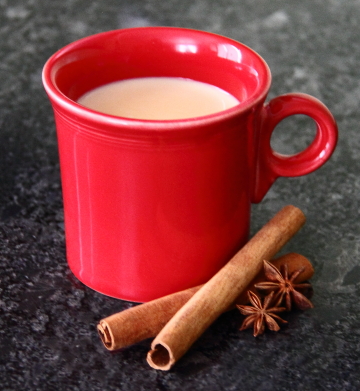 I love drinking my tea sweet with lots of milk so when I discovered masala chai back when I was in college I was instantly hooked. It is such a lovely sweet and spicy drink and is definitely among my favorite beverages, especially when it is chilly outside.
Masala chai originates from South Asia and literally means "mixed spice tea." It is often referred to as chai tea in the West, but since chai actually means tea calling it chai tea is redundant.
Two years ago my friend, Pam, who spent time living in India, gave me a lovely present of some spices, black tea, a tea strainer and instructions for making masala chai. I had never realized how easy making your own was until receiving that thoughtful gift. As an added benefit it makes your home smell wonderful while you are boiling the spices.
There are about a million different ways to make masala chai (varying the spices, changing the ratio of water and milk, what step in the process you add the milk, steeping or boiling the tea, etc.) but I thought I would share a simple recipe that I enjoy which makes enough for about two cups. If you have never made masala chai at home before you can use this as a starting point and experiment to find what recipe fits your tastes.
Ingredients List
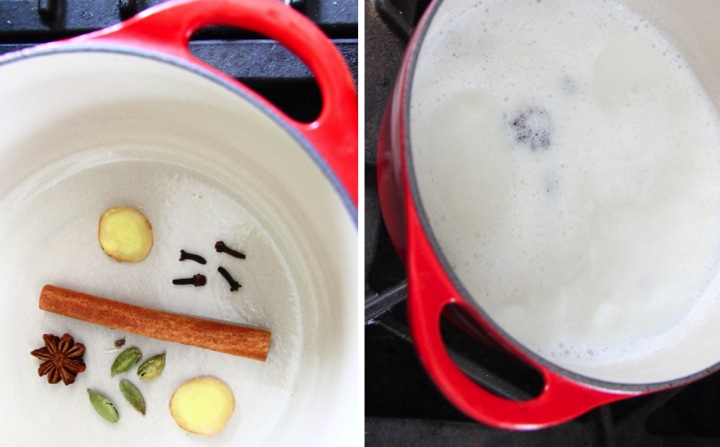
- 4 whole cloves
- 4 green cardamom pods, crushed
- 1 cinnamon stick
- 2 thin slices of fresh ginger
- 1 star anise pod
- 2 cups milk
- 2 cups water
- 2 tablespoons sugar
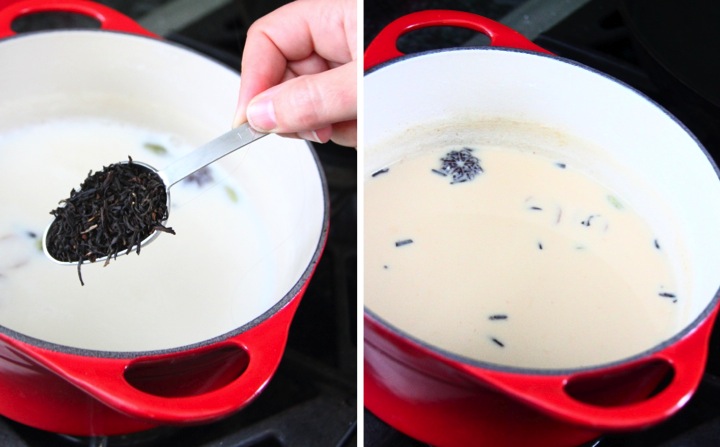
- 2 tablespoons loose black tea (Assam, Ceylon)
Directions
- Place spices, water, milk and sugar in a small sauce pan and simmer for 10 minutes
- Remove from heat, add tea leaves and allow tea to steep for 4 minutes
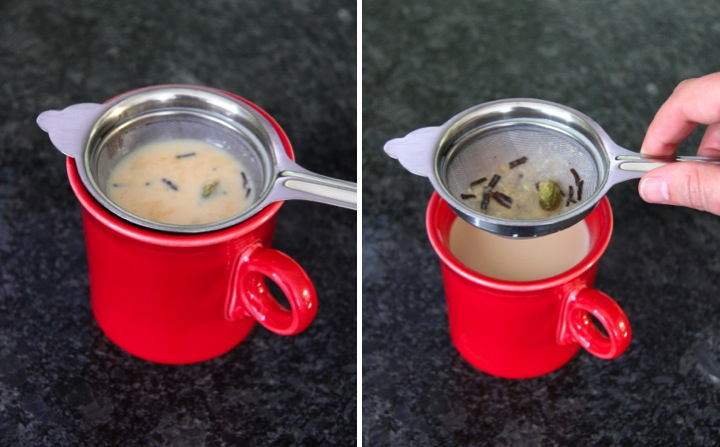
- Pour masala chai into cups through tea strainer, straining out the spices and tea leaves
Tips and Tricks
- If you plan to make chai masala often I recommend buying spices in bulk at an Indian grocery which is much cheaper than buying small jars at the regular grocery (If you are in Ann Arbor I like Bombay Grocers)
- Have fun experimenting to find what recipe you like best!

 Lisa | 10 Comments | Share Article | Email Article | Print Article