DIY Letterpress Holiday Cards

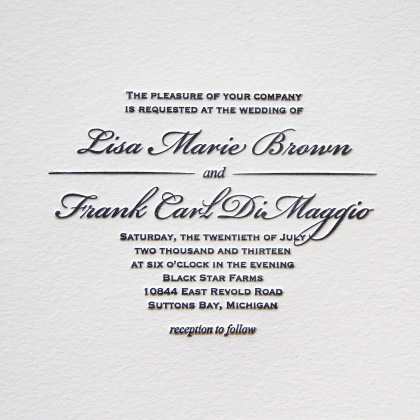
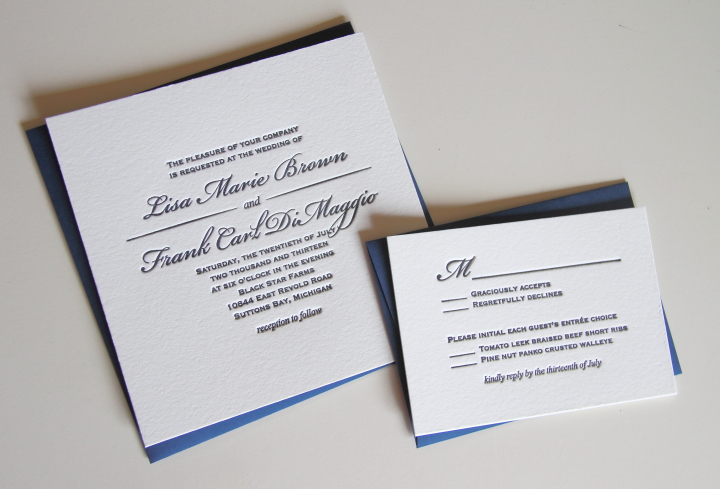
I love to make our annual holiday cards and this year I decided to do a simple letterpress card. I previously had made our letterpress wedding invitations a few years ago so I had the benefit of some lessons learned this time around. I already had plenty of navy ink that I had previously custom ordered for the wedding invitations and my Lifestyle Crafts Letterpress Combo Kit so all I needed was to order some more paper and create a design. I'm just going to share some basics in this post so for a thorough rundown about the process, check out my wedding invitation post as well as the information from Boxcar Press..
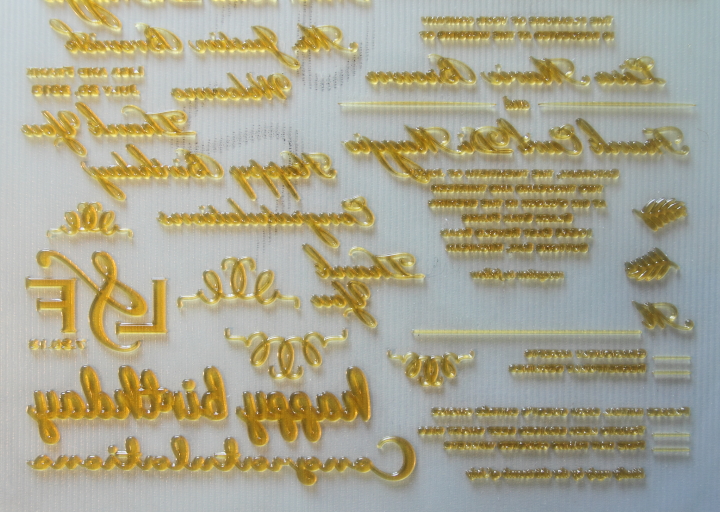
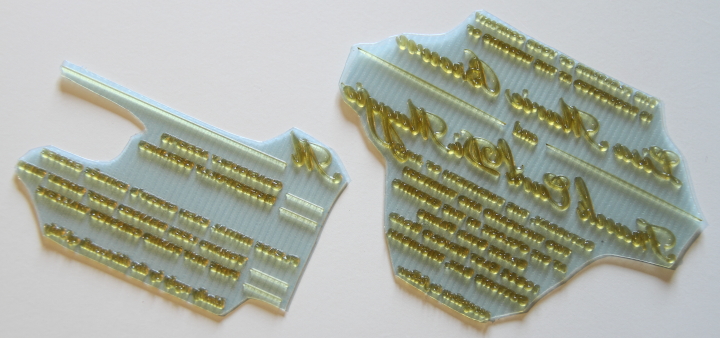
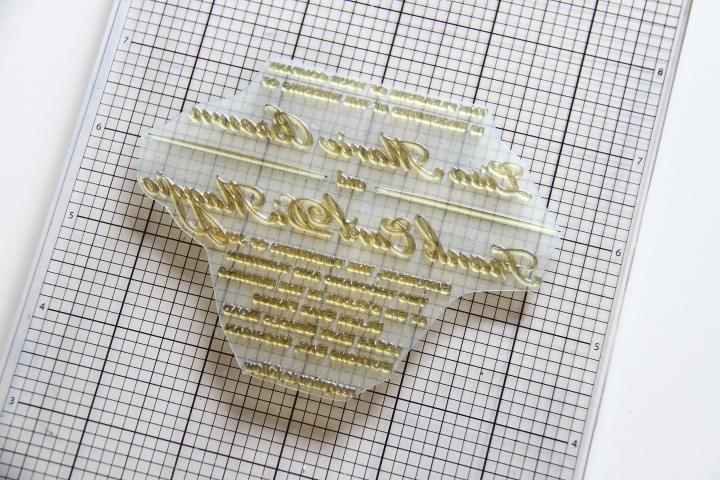
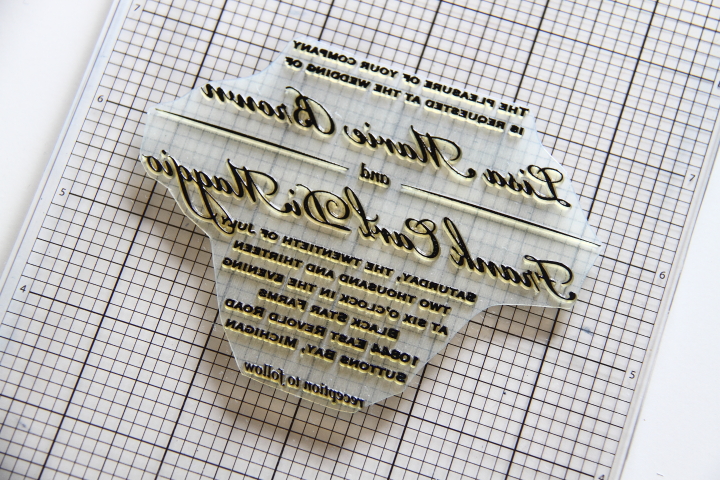
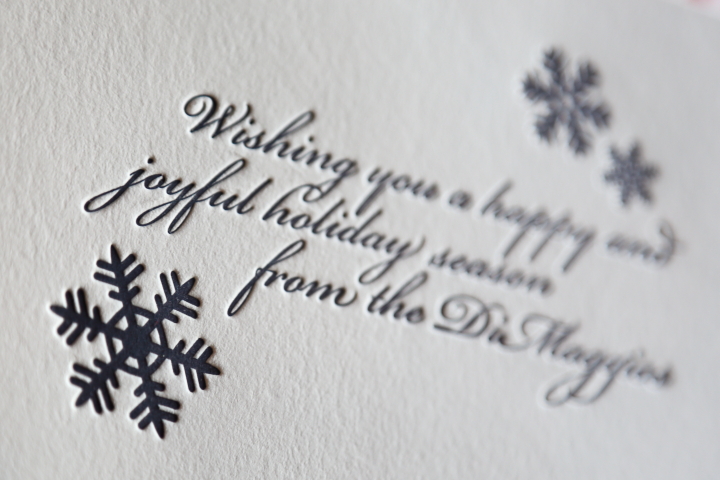
I started by creating my design using Adobe Illustrator with a simple greeting and a few snowflakes. I then ordered my plate through Boxcar Press. They have a minimum size so I like to add on a bunch of other fun things that I may use later, like small designs, greetings or initials. Also, when ordering they will send you extra plate strips for free that you can use as bearings when inking so definitely ask for it in the comments of your order. After receiving the plate I cut out the design using a scissors and removed the blue backing so that I could stick it to the top board of my letterpress bed.
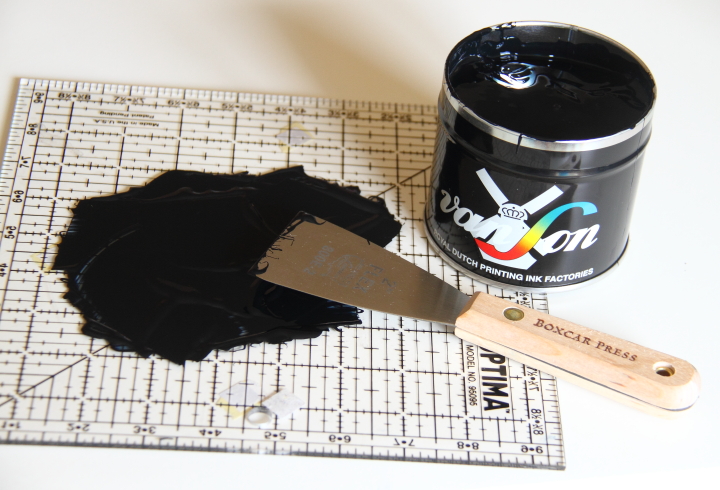
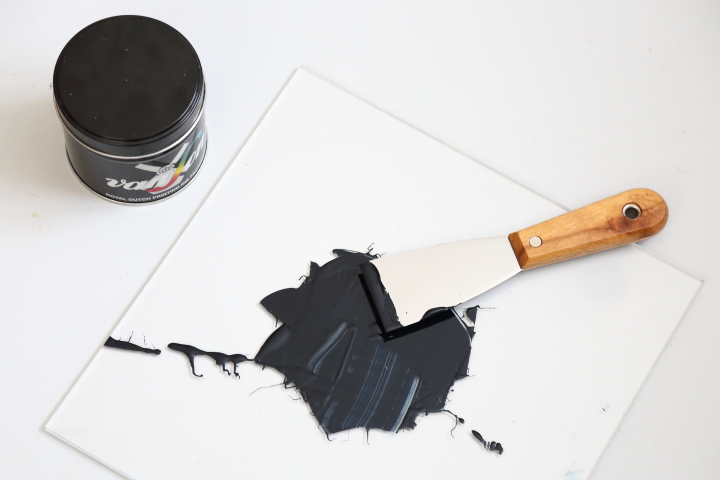
The big thing that I learned from last time was to start with a very, very small amount of ink and use a large acrylic piece to work with as your base. Instead of using the small piece that came with the kit, I ordered a nice large 12"x12" acrylic piece. I used my ink knife to only spread out a pea sized amount of ink and then worked it with my knife back and forth until it was smooth.
I then transferred only a small amount from my blade onto a second large piece of acrylic and used my rubber brayer to roll it back and forth until I had a very, very light coat of ink on the brayer.
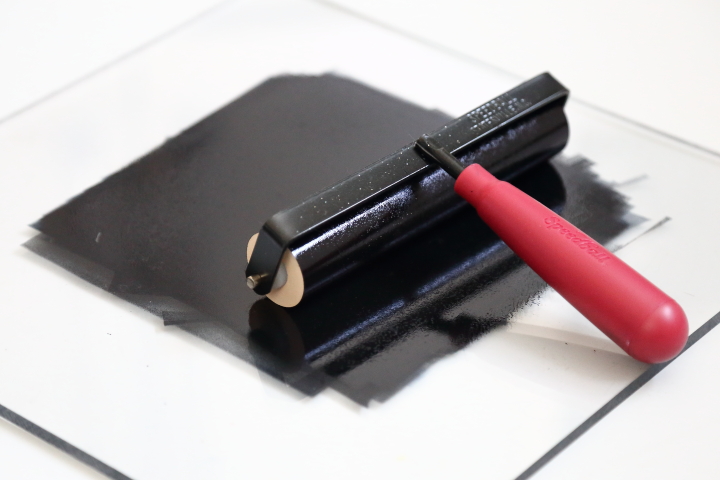
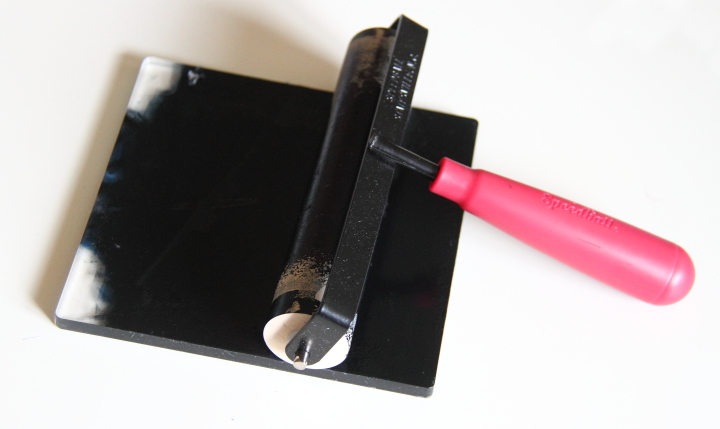
I used some of the polymer plate strips that came with my plate for roller bearers. I didn't do this when I did my wedding invitations (it didn't work well for me then) but this time it resulted in a much better impression. With my brayer loaded with ink, I very lightly rolled it over my letterpress plate. It is very important to only roll once otherwise you will have way too much ink on the plate and you will get a messy impression.

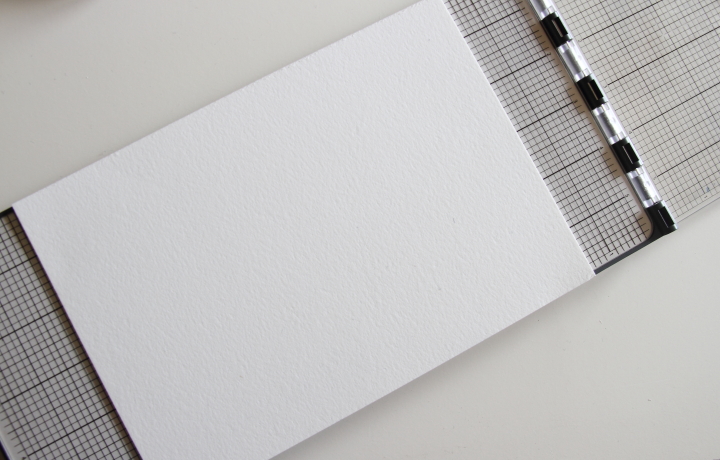
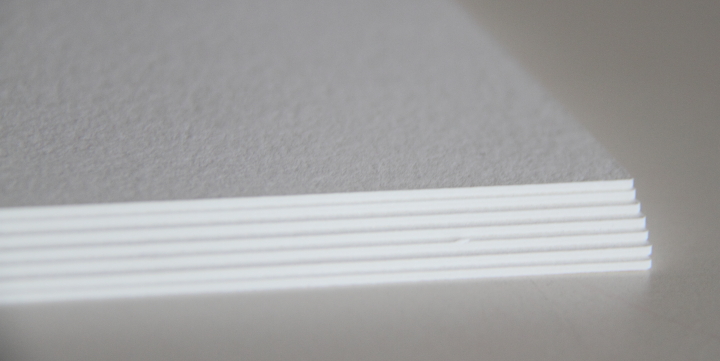
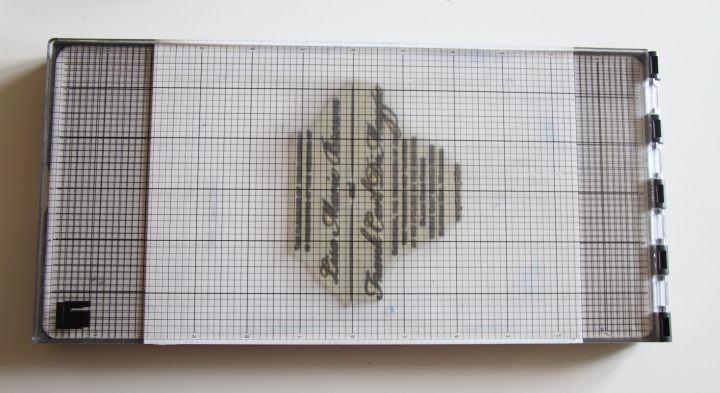
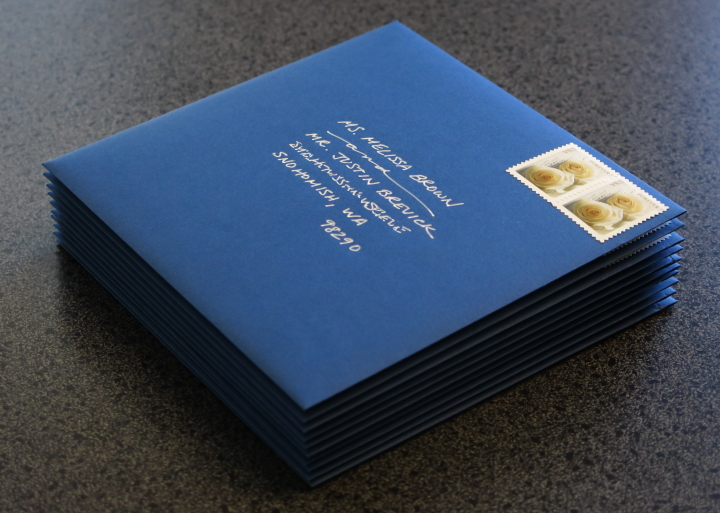
After the plate was inked removed the polymer plate strips and put my paper on the bottom board of the letterpress bed. I splurged and used the Crane's Lettra Pearl White 220lb Cover again. It is hard to show in pictures but it is amazingly thick and beautiful and I felt it was definitely worth it. Instead of using gage pins to align my paper on the letterpress bed I just aligned it with the markings on the letterpress and then trimmed down the card afterward.
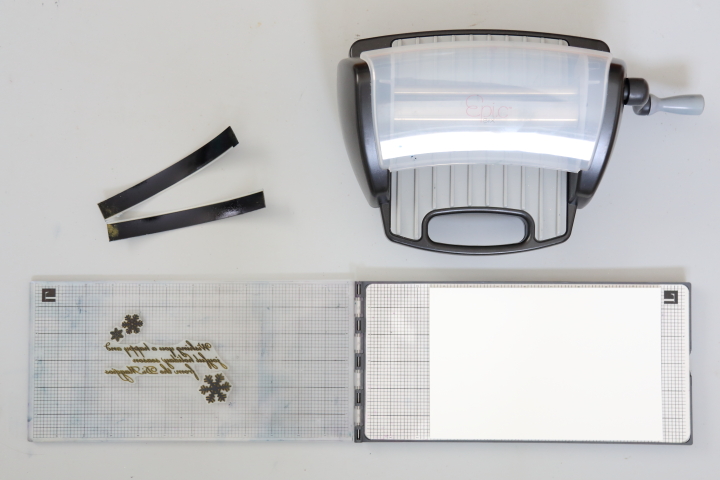
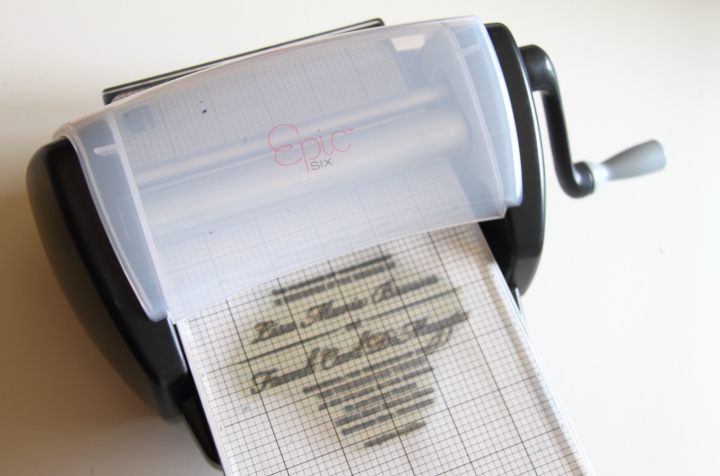
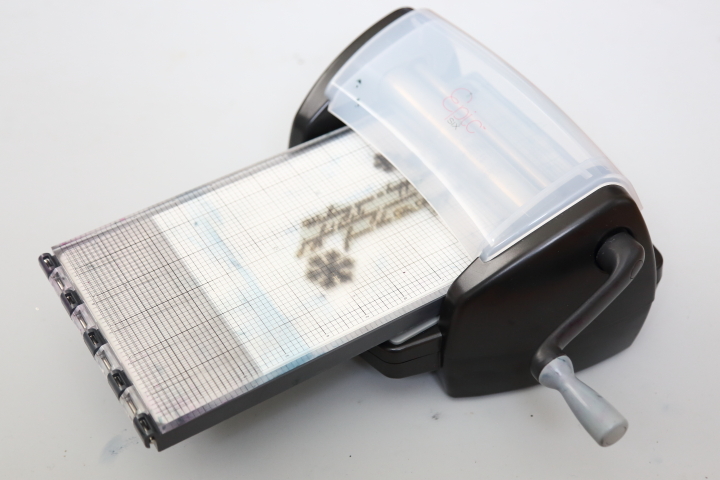
With the paper in place I carefully flipped the top of the letterpress over the bed. I then put the letterpress bed into the Epic Six and turned the crank which pushed the letterpress bed through the machine. After trimming it down to size my card was complete.
To make sure that I got good impressions, after each print I wiped the sentiment part of the plate clean with a dry cotton rag before reinking. I found that not wiping the snowflakes worked best to make sure that they filled in well. I also found that after trimming the cards down, if it was a little rough on the edges using a very fine sandpaper (600 grit) made it nice and smooth for a professional look.
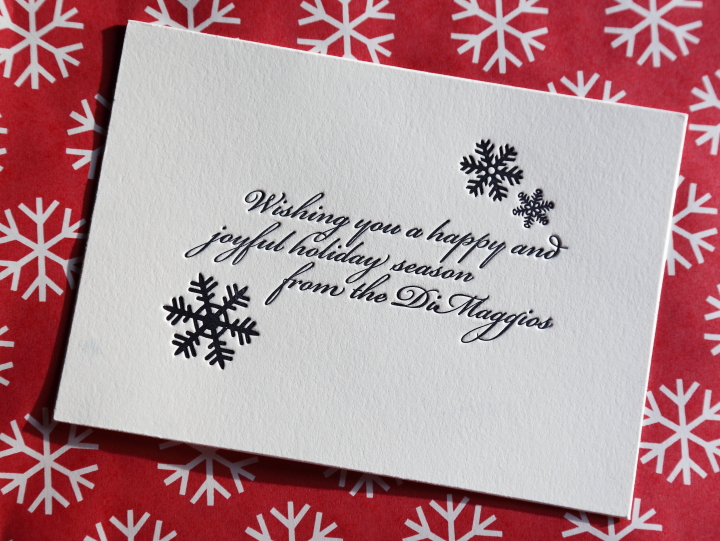
I am very happy with how the cards came out and hope that our friends and family have enjoyed receiving them this year. It was definitely worth some blue ink stained fingers.
If you are interested you can check out some more of my handmade holiday cards here and here.
 Lisa | 16 Comments | Share Article | Email Article | Print Article