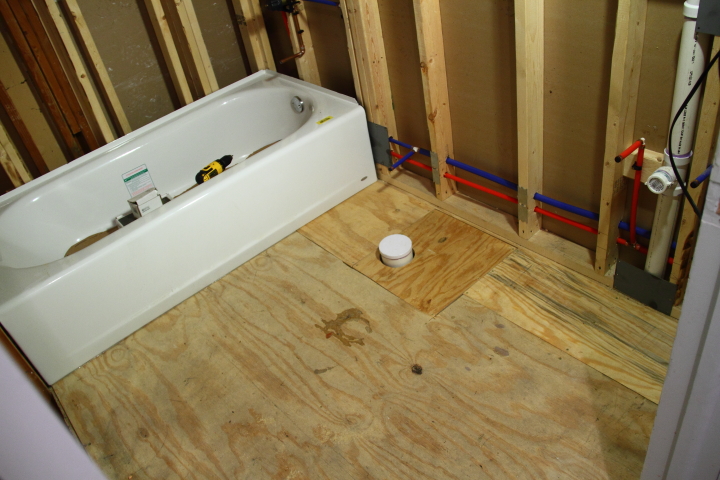
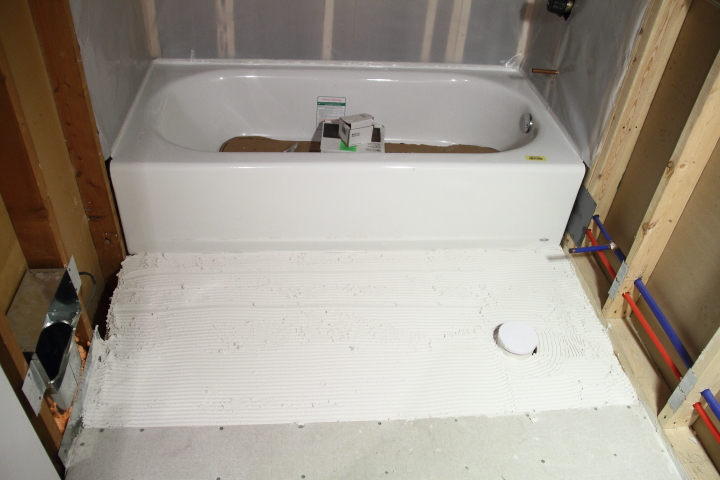
After the building inspector approved me to close up the floor I was excited to do just that. I cut some pieces of 3/4" subflooring to size and patched the areas of the floor that I had previously left open for the plumbing.
With the subfloor complete I moved on to preparing the floor for tiling. Having a properly prepared underlayment will make sure that you don't have issues with cracking down the line.
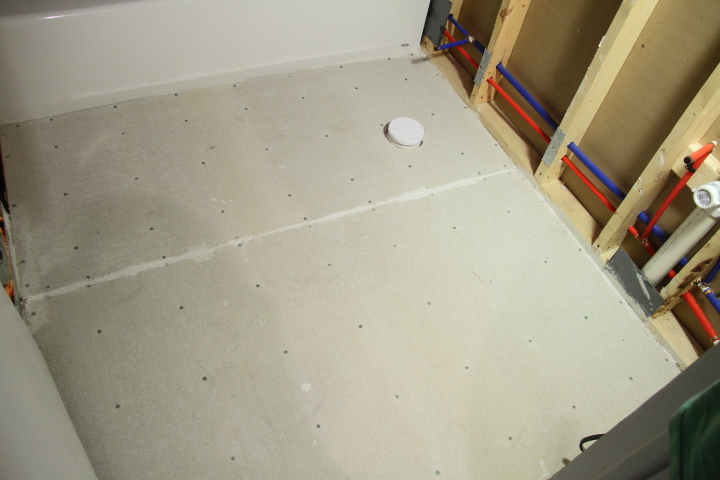
I chose to use 1/4" HardieBacker for my floor. The sheets are 3' x 5' so I needed two for my floor. You need to have a small gap from the edge of the HardieBacker to the walls and since my framing was just a smidge over 5' it was perfect for me to lay one full sheet in the front of the room.
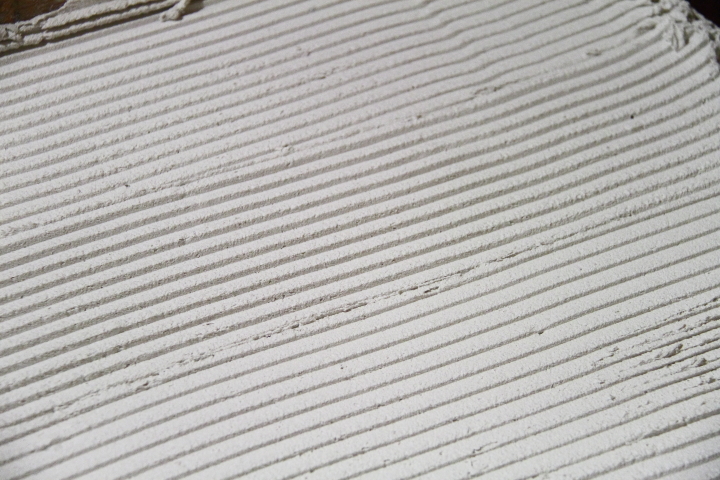
The first step was to spread a layer of thinset over the floor with a 1/4" square notch trowel. Since I was laying a full sheet I marked on the subfloor where 3' was so I knew how far I needed to spread thinset.

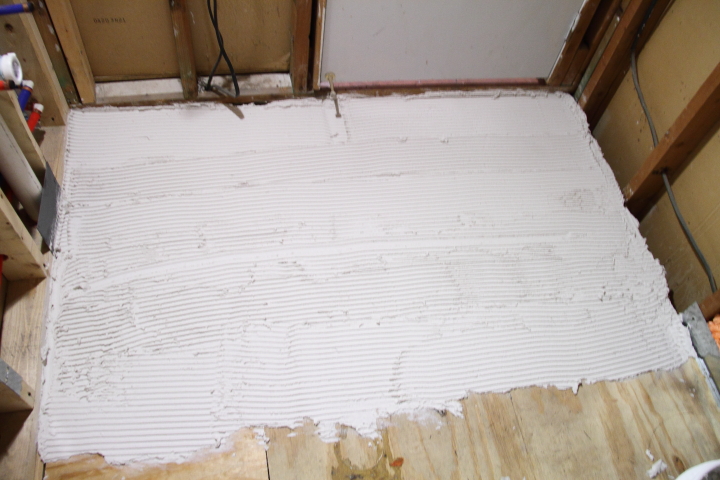
I then carefully laid the HardieBacker into position making sure I had a small gap to all of the walls. I then scraped up the extra thinset that extended past the HardieBacker since I didn't want it to dry while I was screwing in the board.
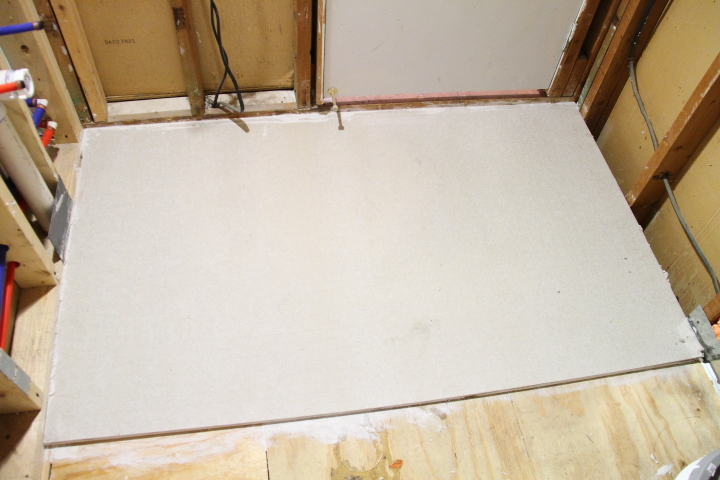
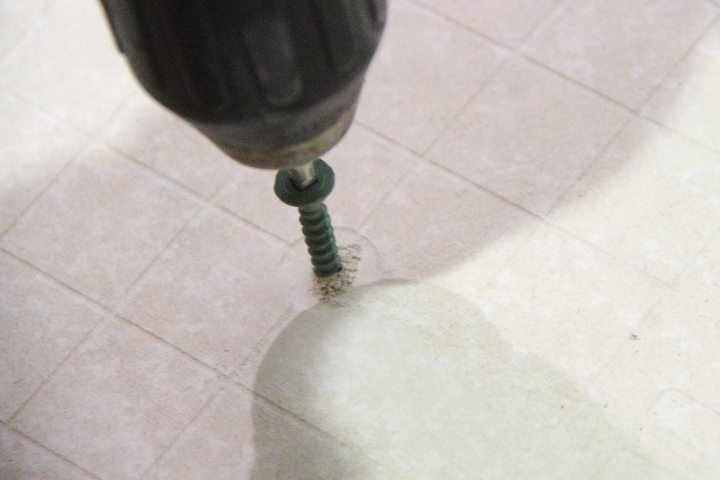
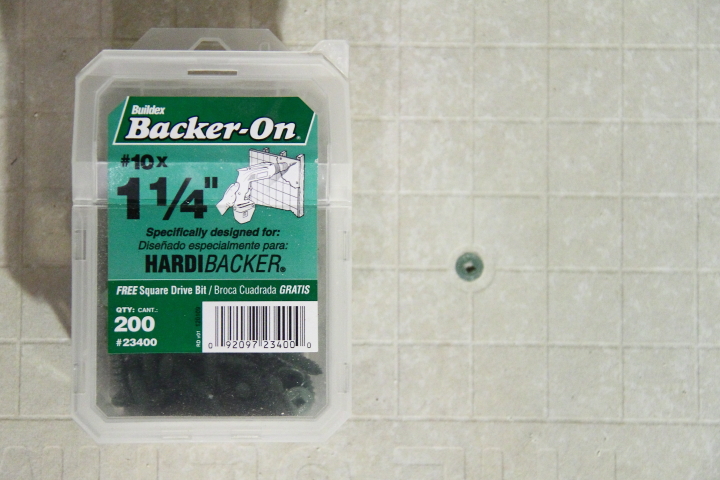
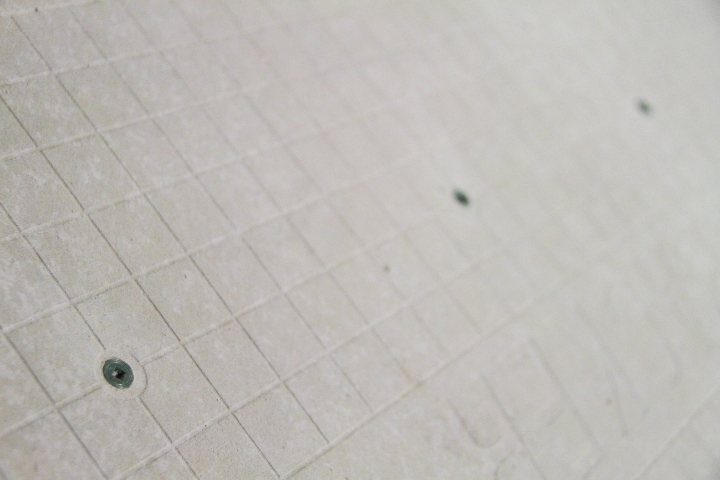
To firmly anchor the HardieBacker to to subfloor I used 1-1/4" screws designed specifically for cement board. HardieBacker has handy little circles on the boards to indicate the spacing you need for your screws. After about a million screws I had the first board in place.
Next I moved on to the second piece which had to be cut down. For the straight edge I simply scored the board a few times and snapped it like drywall. For the toilet drain hole I used my jigsaw. Because of the particulate from cutting cement board with power tools you need to be very careful to use a face mask.
I did a dry fit of my second piece to make sure it was the right size and then spread down more thinset. I put the board in place, again making sure of the small gaps to the wall, tub and first piece of HardieBacker and then screwed it down again. I still need to tape the seam between the boards before I tile, but that is for another day.
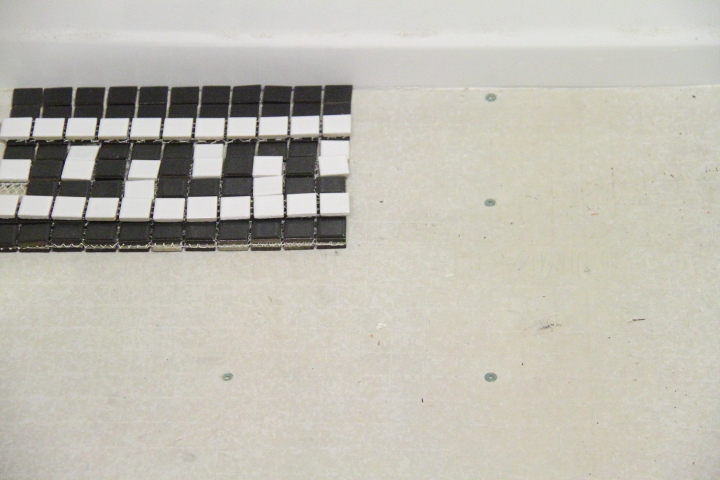
Here is a sneak peek at what I am thinking of for the tile floor. I am planning to make a border around the room with black and white square tiles and then have 1" white hex for the field tile. I think it will add some fun to this small bathroom. I can't wait to start tiling!
For other related posts about this bathroom renovation check out the history of my downstairs bathroom, fixtures for my bathroom renovation and plumbing in the downstairs bathroom. If you are interested in my completed master bathroom renovation check out master bathroom renovation recap.