 I am short but I would just love, love, love to be tall. Because of this I have a high heel addiction and wear them everyday. In fact, I am so used to wearing heels that I can run in them as fast as I can in flats. Before you are impressed, I must disclose that I am painfully slow in whatever footwear I choose. I would tell you to think tortoise slow, but that would be slander against the tortoise.
Anyway, I digress. The point of all of this is that I have a lot of heels. I also happen to live in a house that is over hundred years old built in a time when thoughts of master suites with shoe closets were not exactly on the radar. As a result I need to make the best use of the closet space that I have to store my shoe collection.
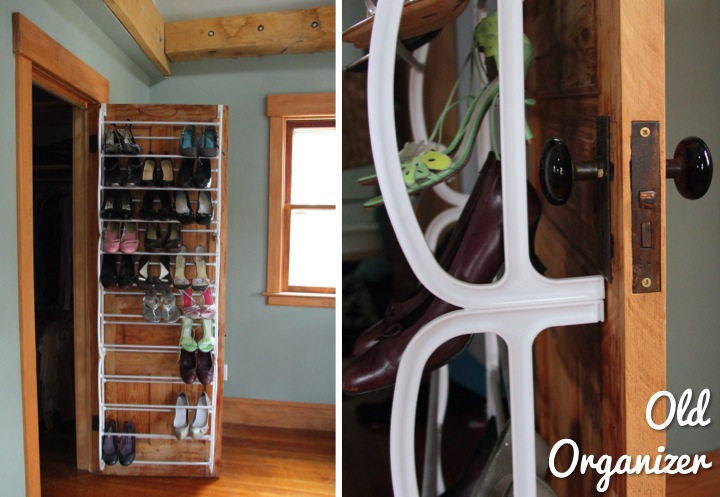
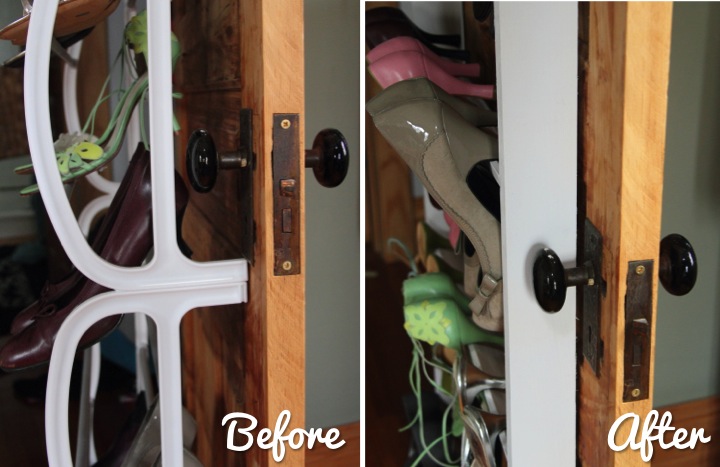
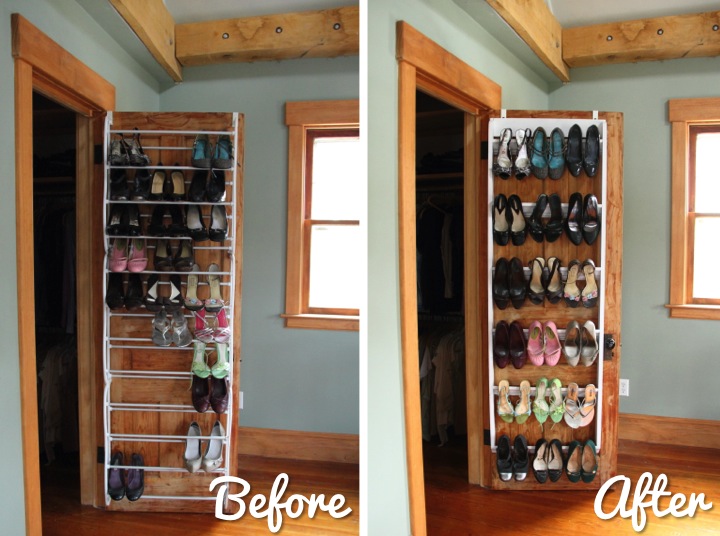
My old solution was terrible. It was a cheap over the door organizer that had all sorts of problems. First, it stuck pretty far out from the door making it a little unwieldy to get in and out of the closet. Second, it was just flat out ugly made from cheap plastic with metal rods. It doesn't look so bad in my pictures, but it real life it was an eyesore. Third, and most importantly it covered over the inside door handle. Normally, no one would care about an inside closet handle but when I remodeled the second floor of my house I reconfigured it to expand the closet as much as I could and to make it a pass through into the master bathroom. If I want to go from the bathroom to my room I have to wrangle the door knob through my shoe organizer. It's really annoying so I tend to just leave the door open which is not the best solution.
Several months ago on Pinterest I pinned an image of crown molding on a wall for hanging heels from an article on Houzz.com thinking it would make a great solution for me. It has languished among my many pins, but I decided to use The Pinterest Challenge hosted by Sherry, Katie, Carmel and Sarah to finally get around to doing something with the idea.
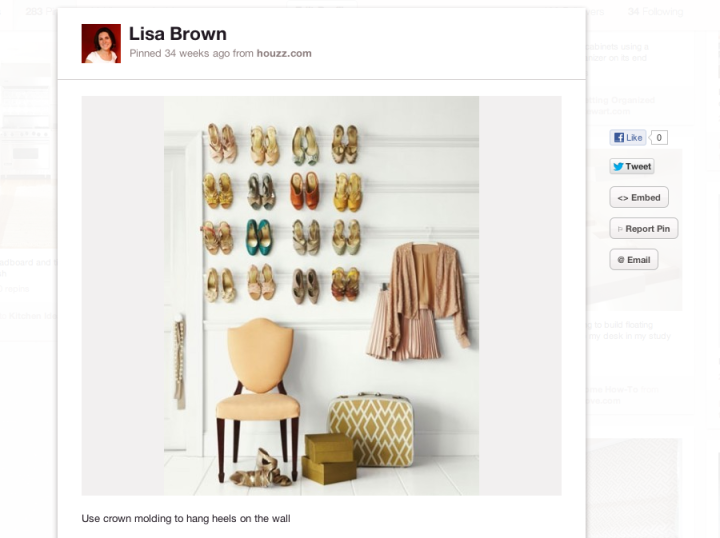
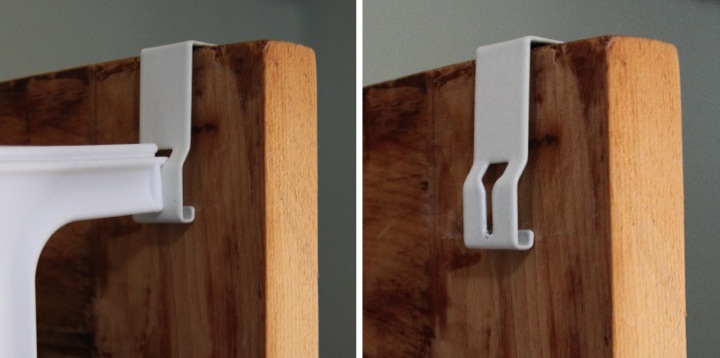
Unlike the pinned image, I wanted to keep my heels inside my closet instead of displaying them on the wall. Also, I didn't want to make any holes in my old solid hardwood door (yes, I know it is bad need of refinishing). On my other closet door I had previously made a laundry sorter system from hanging baskets and had used Command Hooks so that I wouldn't damage the door. Command Hooks wouldn't be an option for this project, however, since any shoe organizer would be too heavy for them. As I was taking down my old shoe organizer, I realized that the metal part that went over the door could be slipped off the rest of the organizer and would make the perfect solution for me.
With how to hang up the shoe organizer figured out I next had to tackle the frame. I needed to make it as light as possible so it wouldn't put excessive stress on the door hinges. After sketching some ideas I decided to use 1x3s for sides with a 1x4 brace at the top. I measured a few pairs of my heels and determined that spacing the crown molding shelves 12" would allow me sufficient space for things not to be too crowded and give me six shelves. I was also careful to determine the width (22-1/2") so I wouldn't have interference with my door knob.
I didn't want to have the top have a square sharp edge so I traced a design on the top of my side supports and cut it out with my jigsaw. Next, I held up the crown molding against the side rotating it until I determined what angle I wanted it to be, which ended up being 40 degrees. I measured down 66" inches from the top (12" x 5 for the spacing between the six shelves plus an extra 6" at the top), clamped the two sides together and cut the bottom at 40 degrees. I then made a mark every 12" starting from the bottom and used the trimmed off piece as a guide to mark the angle for the molding on the sides.
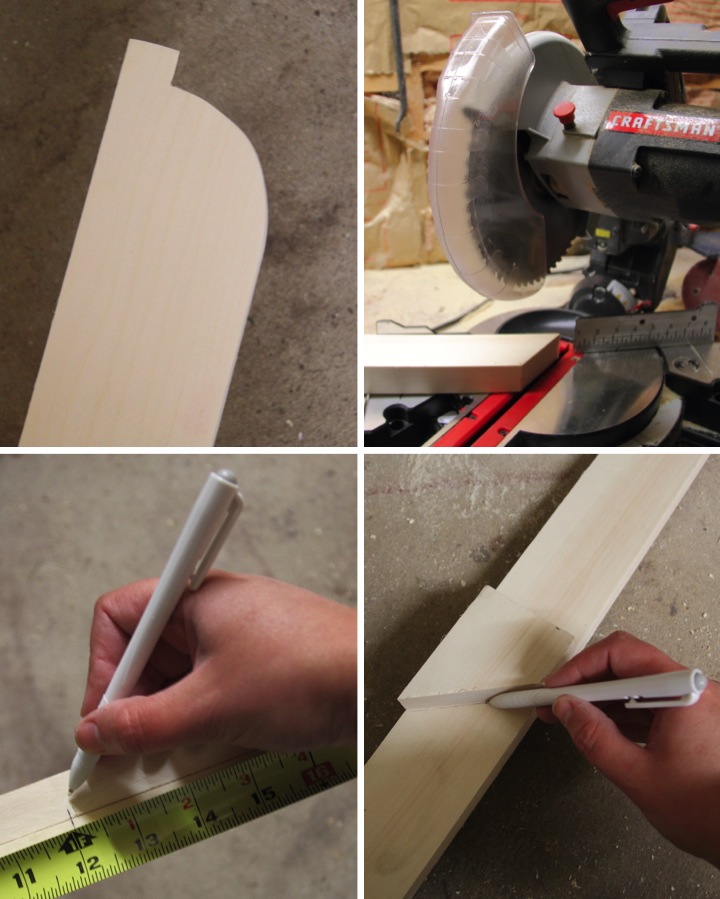
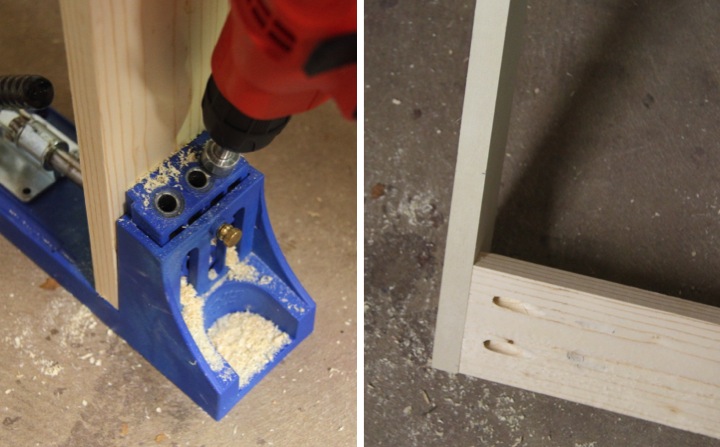
With my sides cut and marked, I cut the 1x4 brace and five of the shelves at 21" and an additional shelf for the bottom at 22-1/2". I made the bottom shelf the full width because I planned it to go over the supports instead of inside like the others. I wanted the brace to be well secured to the shelf so I decided to use my Kreg Jig to make pocket holes to attach it to the sides.
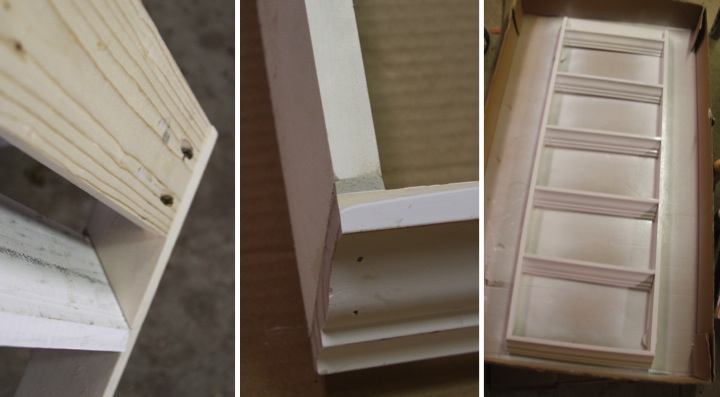
To attach the crown molding shelves I put some wood glue on the ends, aligned them with the marks that I made and used some brad nails to secure them. For the bottom shelf I used glue and brad nails, but placed it on top of the angled bottom. This left a little gap which I filled in with wood putty and sanded flat.
I filled in the rest of the brad nail holes, sanded the whole piece, wiped it down with a tack cloth and I was ready for paint. I kept things simple and just gave the organizer two light coats of white spray paint.
Once the organizer was dry my last step was to attach the old metal over the shelf brackets. I drilled a pilot hole for the screw, attached the brackets with 1/2" screws and my organizer was complete.
![]()
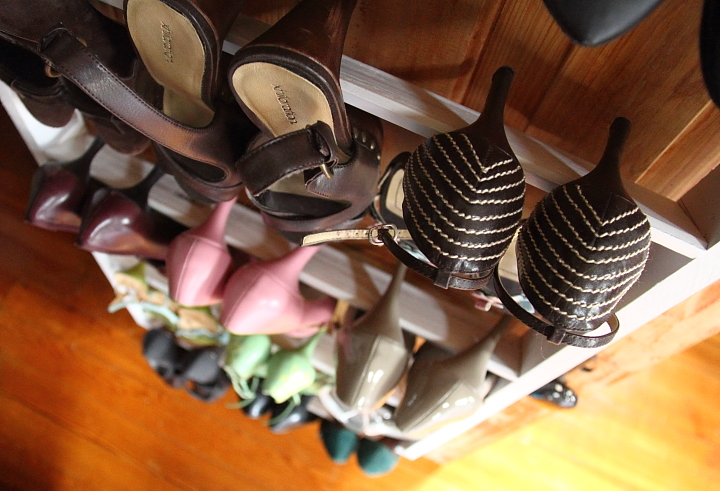
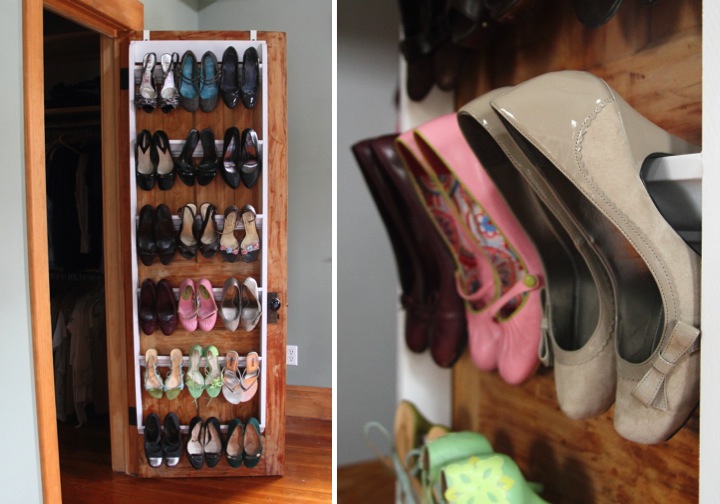
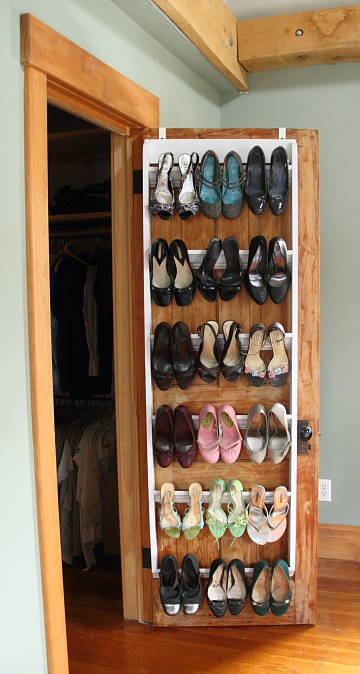
I am thrilled with how my shoe organizer turned out. Not only is it much more functional than my old organizer (I can reach the door handle!) but it is so much prettier.
Here is a view of the old organizer and new organizer from afar. I think it looks much cleaner to have the shoes spaced out, plus my newly built organizer sticks out less than half the amount from the door as the old one making it much easier to get in about out of the closet. Also, it is needless to say that crown molding looks prettier than cheap metal tubes any day.
Did you make anything for the Pinterest Challenge? If so, leave a link in my comments because I would love to check it out!